In commun usage, a scoop is any specialized spoon used to serve food.
In windows scoop is a command-line installer for Windows, you dont have to click the next button and google your way in finding the installer of a common app.
A developer todays installs tons of dependencies to build something that meets the users demand.
Installation
Every windows 10 and 11 nowadays have the basic scoop requirements
- Run powershell
- Paste the following command
Set-ExecutionPolicy RemoteSigned -Scope CurrentUser # Optional: Needed to run a remote script the first time
irm get.scoop.sh | iex
if your account is an administrator please follow this link
- If anything goes well you can close your powershell window
- Before proceeding please uninstall nodejs, windows terminal or vscode as scoop will not uninstall it for you
- Scoop application lives in your home folder e.g
C:/Users/youraccount/scoop/
Apps to be installed for common JS Development
The provided links are their repositories, we are devs not animals If you went through all the links you can read things about how to install them
- Git an open source distributer version control system
- Windows Terminal a terminal with tabs
- Vistual Studio Code a text editor
- NVM(Node Version Manager) like scoop it manages node versions for you
- Pwsh A new version of powershell
Now run cmd or powershell
scoop bucket add extras
scoop install git nvm extras/windows-terminal extrax/vscode
After installation please use your new windows terminal
Installing nodejs with nvm
# I am using lts(Long Term Support) version
nvm install lts
# If you want the lastest cutting edge , gun in the foot nodejs use the command below
nvm install latest
If you need a specific version of nodejs follow this link
After installing node lets activate a certain version
# nvm use version for whatever version you installed
nvm use lts
# check installation
node -v
npm -v
If you are looking for the context menu where you open windows terminal or vscode on a certain folder
install-context.reg is provided for you at e.g for windows terminal
C:\Users\yourname\scoop\apps\windows-terminal\current C:\Users\yourname\scoop\apps\pwsh\current
same goes for vscode just look at the current folder of a certain app
I personally use pnpm to handle my node packages on projects dont ask me why go here
scoop install pnpmA scoop update pnpm wont work if pnpm installed a global package at this point pnpm manages
its own version
I also use a nerd-font called FiraCode
scoop bucket add nerd-fonts
scoop install nerd-fonts/FiraCode-NF
For more Scoop packages search here even winrar is there
but ffs use 7-zip it can also unrar a rar file.
Visual Studio Code
Depending on the framework or library you are using there are some useful extensions you can use
Please refer to the official docs on how to install extensions and tools for your convinience.
Personally i use the following
- Tokyo Night Storm as my theme
- file-icons
- Prettier
- ESLint
Its a swarm of extensions so be aware of what you are installing
A quick note
- Only Install what you need
- Use an official extension for a framework or workflow you need
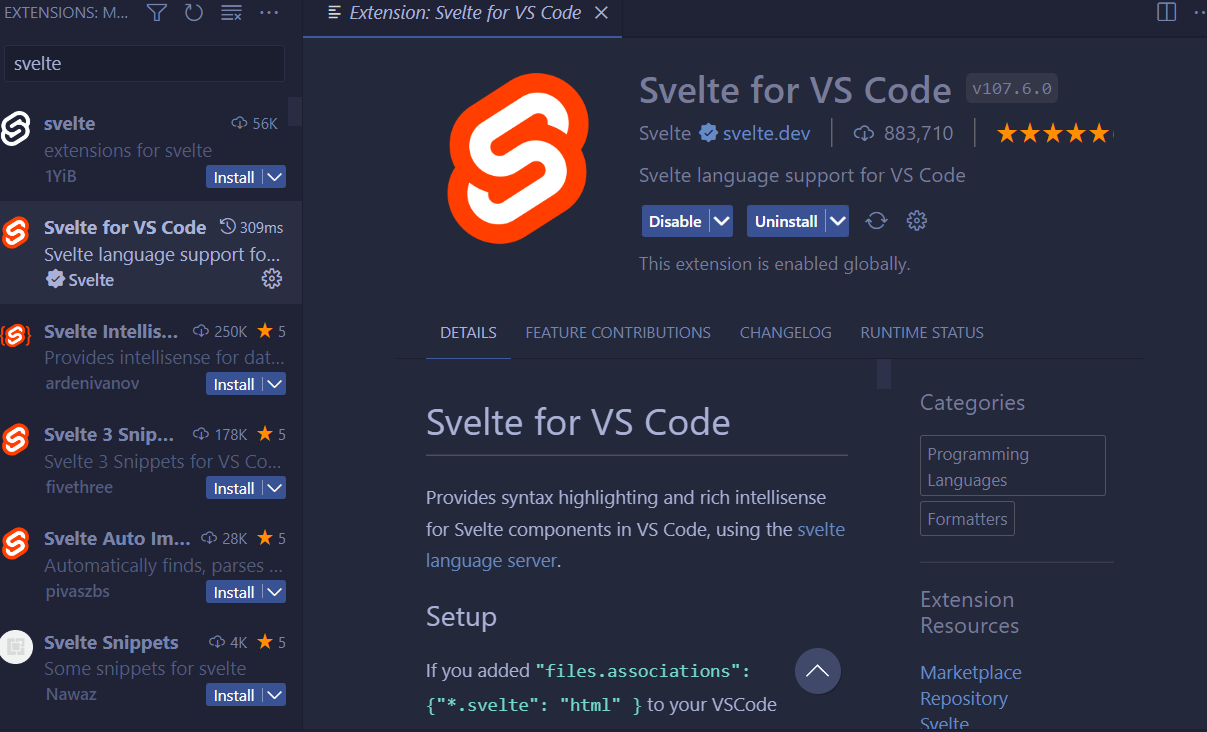
A good example is for svelte the officials ones have a ✔️
Testing your environment
In this exercise we are gonna scaffold a SvelteKit project
- Open your windows terminal the default directory where it hopens is where your home directory is
C:\Users\yourusername - Create a Projets folder and go into into that directory
mkdir Projects # Creates a Project directory
cd Projects # Go in the Projects directory- Create a SvelteKit app
#if using npm replace pnpm with npm
pnpm create svelte@latest
Prompts use enter to select the option space for multi selection and arrow keys for navigation
- Where should we create your project? give a directory name where your project source code will be created at
- Which Svelte app template? Either a Skeleton Project for app development
- Add type checking with TypeScript? either use JS with doc comments or Typescript
- Some extra cool stuff to be added
An Image of the process
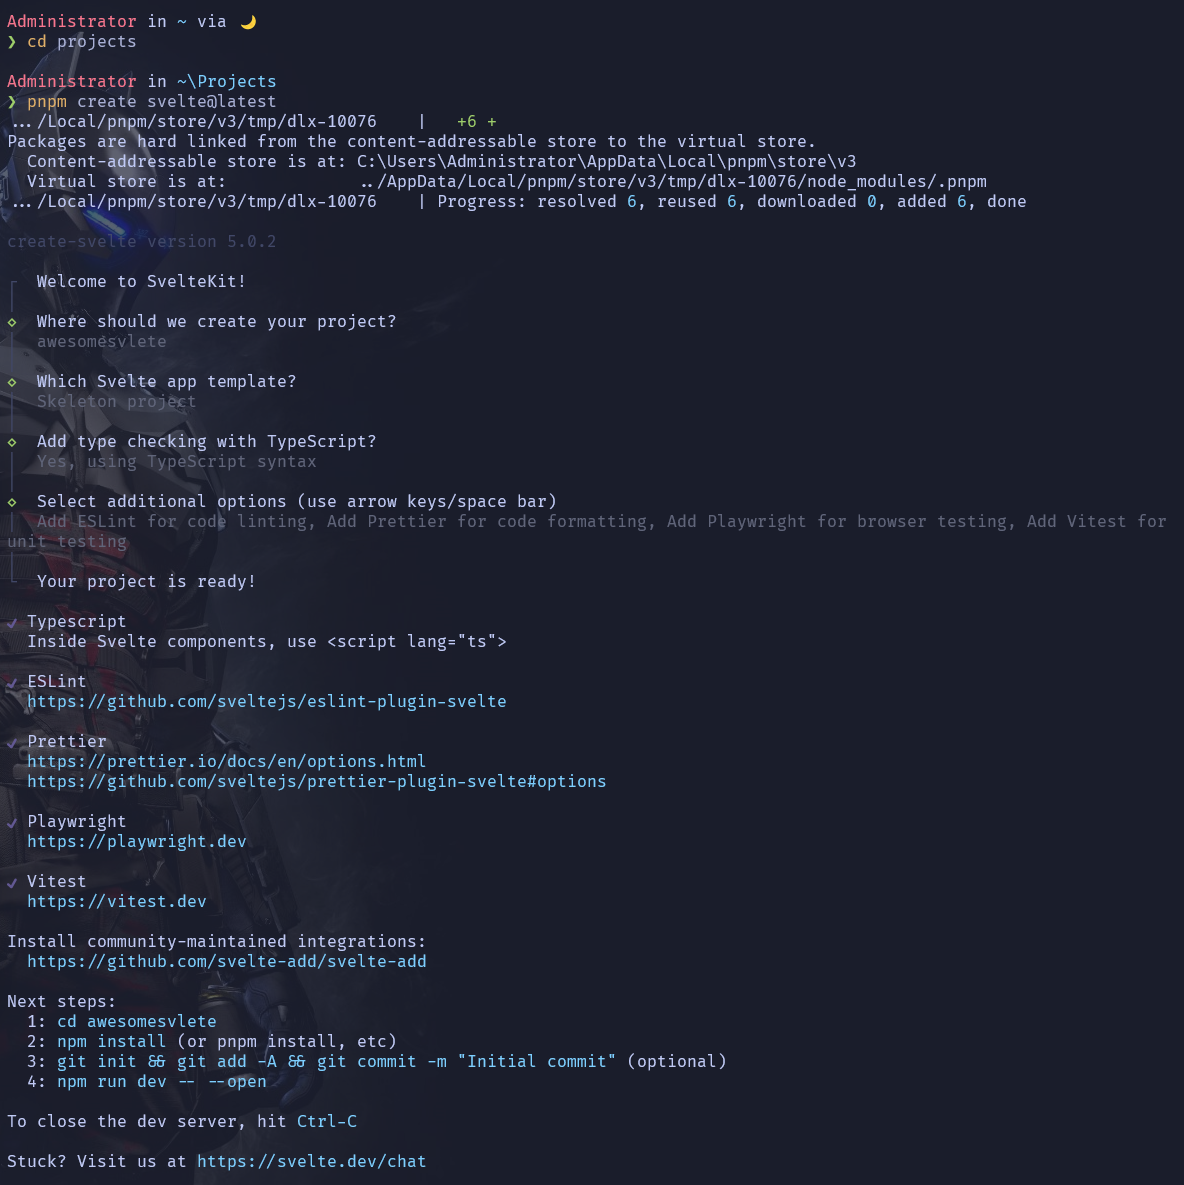
An Example proccess
Administrator in ~ via 🌙
❯ cd projects
Administrator in ~Projects
❯ pnpm create svelte@latest
.../Local/pnpm/store/v3/tmp/dlx-10076 | +6 +
Packages are hard linked from the content-addressable store to the virtual store.
Content-addressable store is at: C:UsersAdministratorAppDataLocalpnpmstore
3
Virtual store is at: ../AppData/Local/pnpm/store/v3/tmp/dlx-10076/node_modules/.pnpm
.../Local/pnpm/store/v3/tmp/dlx-10076 | Progress: resolved 6, reused 6, downloaded 0, added 6, done
create-svelte version 5.0.2
┌ Welcome to SvelteKit!
│
◇ Where should we create your project?
│ awesomesvelte
│
◇ Which Svelte app template?
│ Skeleton project
│
◇ Add type checking with TypeScript?
│ Yes, using TypeScript syntax
│
◇ Select additional options (use arrow keys/space bar)
│ Add ESLint for code linting, Add Prettier for code formatting, Add Playwright for browser testing, Add Vitest for
unit testing
│
└ Your project is ready!
✔ Typescript
Inside Svelte components, use <script lang="ts">
✔ ESLint
https://github.com/sveltejs/eslint-plugin-svelte
✔ Prettier
https://prettier.io/docs/en/options.html
https://github.com/sveltejs/prettier-plugin-svelte#options
✔ Playwright
https://playwright.dev
✔ Vitest
https://vitest.dev
Install community-maintained integrations:
https://github.com/svelte-add/svelte-add
Next steps:
1: cd awesomesvlete
2: npm install (or pnpm install, etc)
3: git init && git add -A && git commit -m "Initial commit" (optional)
4: npm run dev -- --open
To close the dev server, hit Ctrl-C
Stuck? Visit us at https://svelte.dev/chat
- Go isnside the directory svelte just created for us e.g
awesomesvelteor whatever the project name you chose
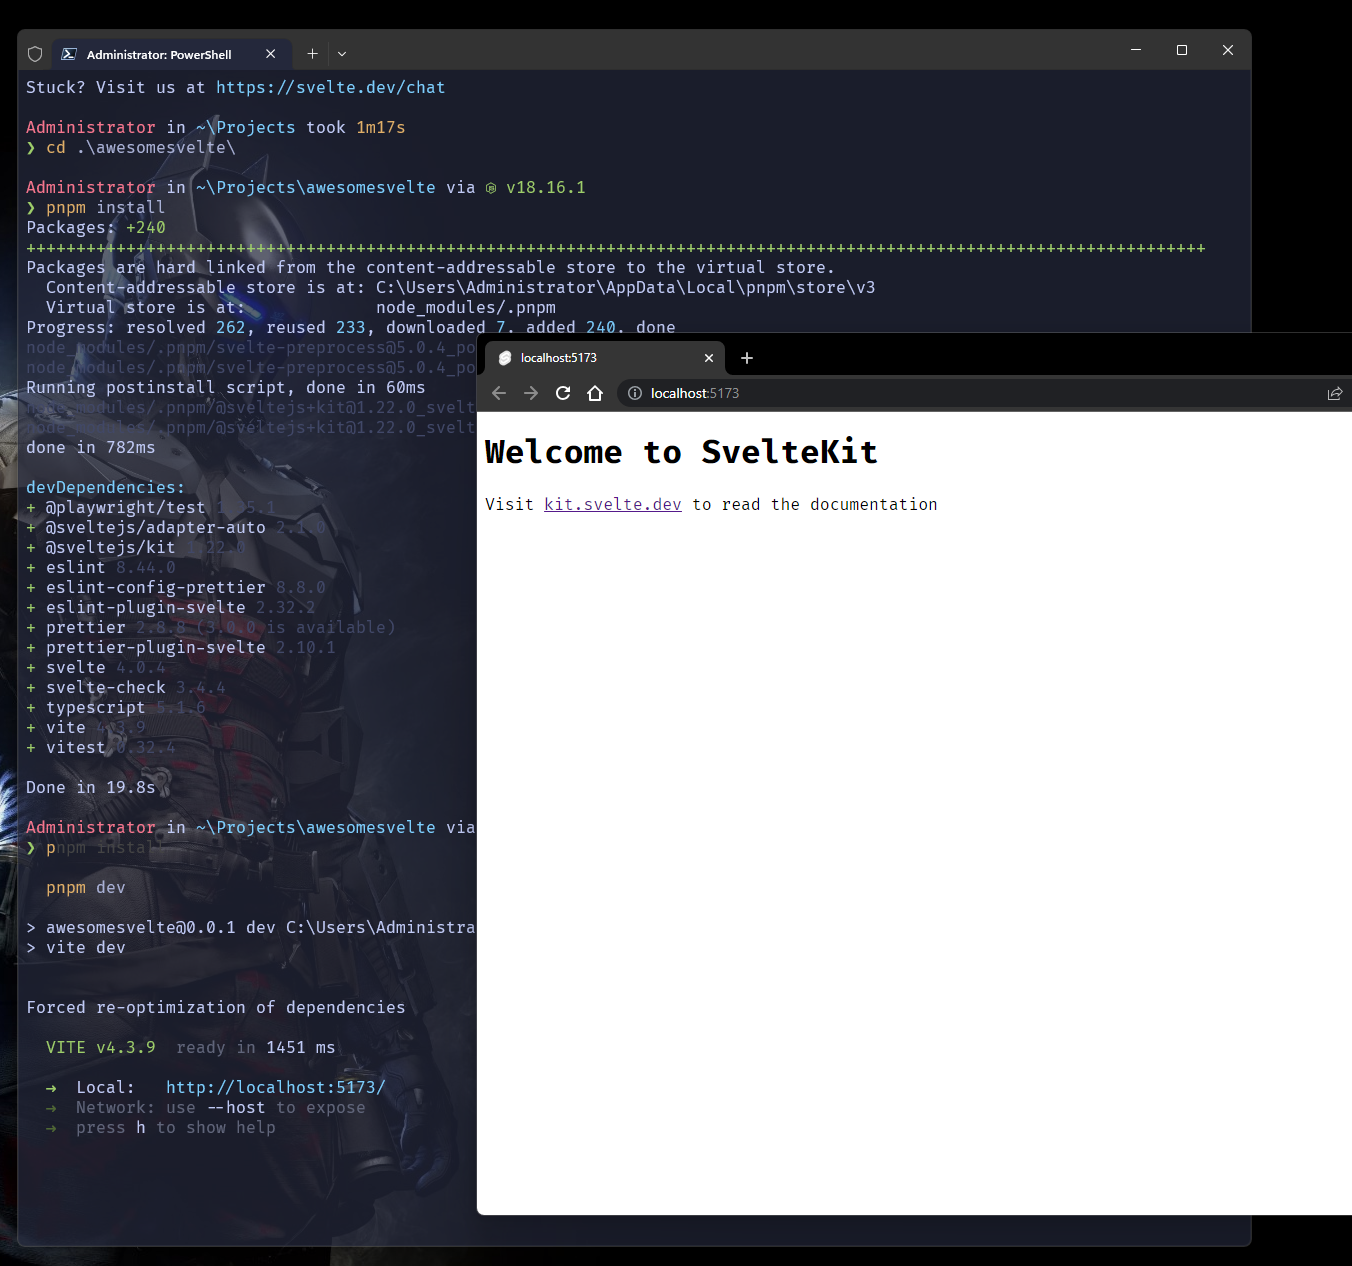
cd awesomesvelte- Install dependencies
# or npm install
pnpm install- Open it in Visual Studio code
code .- Run in VSCode terminal or your windows terminal
# or npm run dev
pnpm dev
If all went well you can open your browser and head to http://localhost:5173
Awesome! Goodluck, the goal of this post is to improve our developer experience.